Not something you’ll do too often, but you might find yourself doing this if you are setting up PoCs and removing them. A reminder for me, since I stumbled around for 5 minutes before Googling and finding a note on the docs site.
Project Settings
This is the key, and there are a lot of useful things here, including deleting your project. To get to the settings, open your project from Azure DevOps. In the current view, you see a number of items along the left: the overview, repos, pipelines, etc..
Look below these items and you’ll see the gear icon. That will take you to the settings.
The settings page as the name of the project, and a number of tabs on the left. You can change lots of the items, but for this post, stick with the Overview.
Below the Process, are the various sections of Azure DevOps listed, the Boards, repos, etc. If you scroll down the Overview page, you’ll see the Delete Project at the bottom.
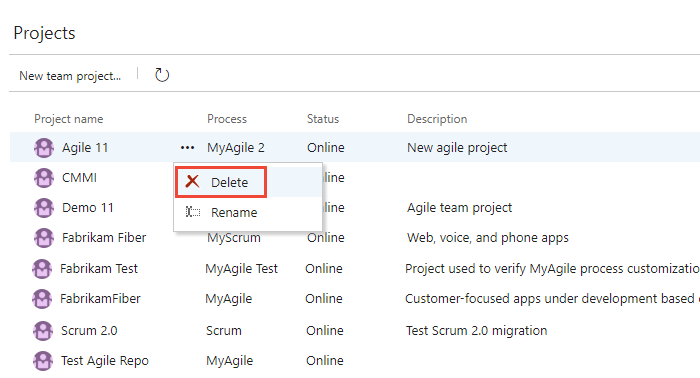
Click this, and you’ll get a confirmation dialog. You need to enter the correct name of the project to delete it.
Microsoft knows this is a big deal, so you have time to recover this if you make a mistake. That doesn’t mean you shouldn’t treat this seriously, but in case you make a mistake, you can recover things right away if you need to do so.
Once you start to experiment and work with Azure DevOps, you can find the number of projects will grow. Some of those will be test projects or PoCs, which need cleaning up at some point. This is the process to remove those old projects.